How Do I Add Multi Step Form With Progress Bar
- CD Studio .

- Nov 11, 2023
- 4 min read
Hey there, Wix enthusiasts! Ever wondered how to make your website forms more user-friendly and engaging? Well, you're in the right place! In this easy-to-follow guide, we're going to show you how to create multistep forms with progress bars on Wix. No fancy jargon, just straightforward steps to level up your website game.

Prerequisite:
Before you start this tutorial, you need to create a Wix site
Step 1:Add the Multi State Boxes

Add elements -> interactive -> Multi State Boxes
Step 2:Add the text input field

Add element -> input-> Text Input To add, just drag the input field

Give the field title First name in the Text input settings in multistate box state1

Add another input field Last name
Give the field title in the Text input settings in Last name.
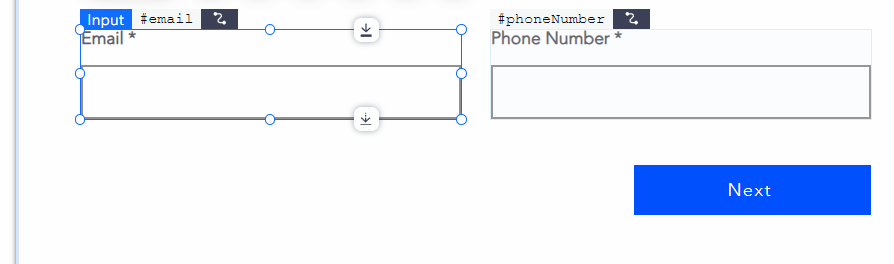
Add email & phone number as other fields
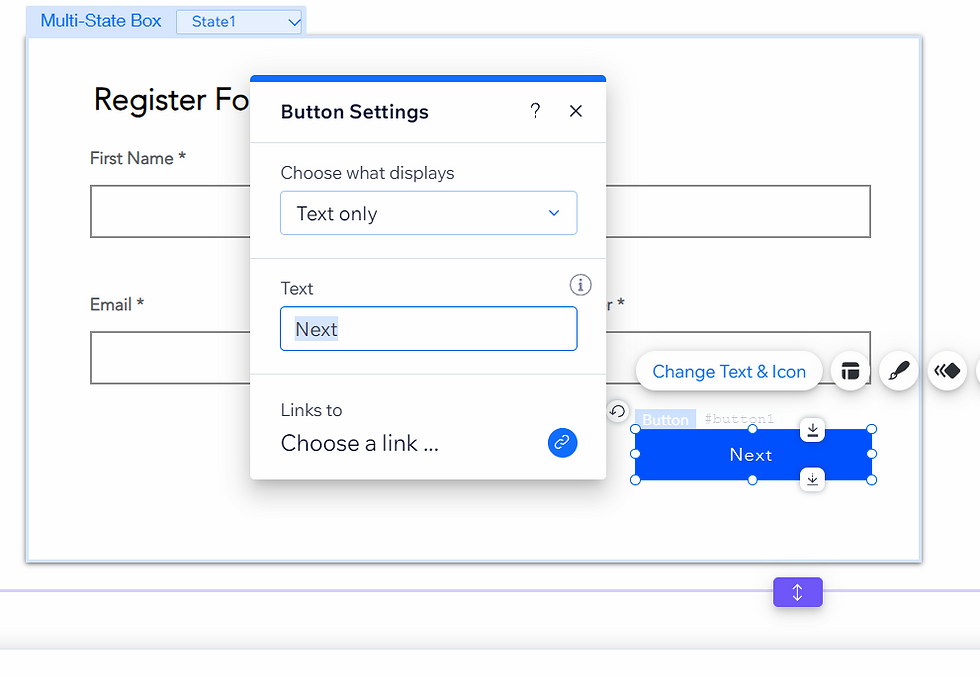
Add button and button name, I gave "Next".
Step 3: Add the second state multistate box

I entered first manage state id name 'Details' and second state id name 'Address'.
Step 4: Add Input Field

Give the field title Address in the Text input settings in multistate box state2

Add another input field City/State
Give the field title in the Text input settings in City/State.
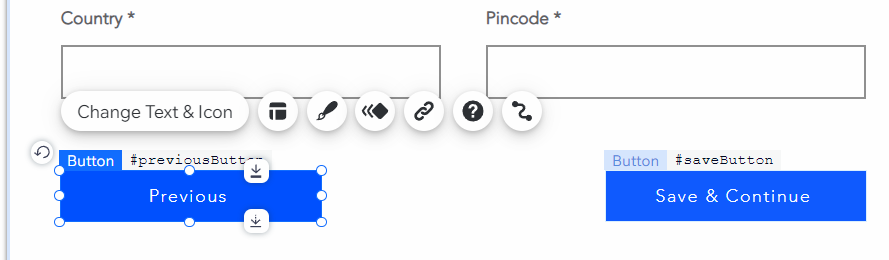
Add Country & Pin code as other fields

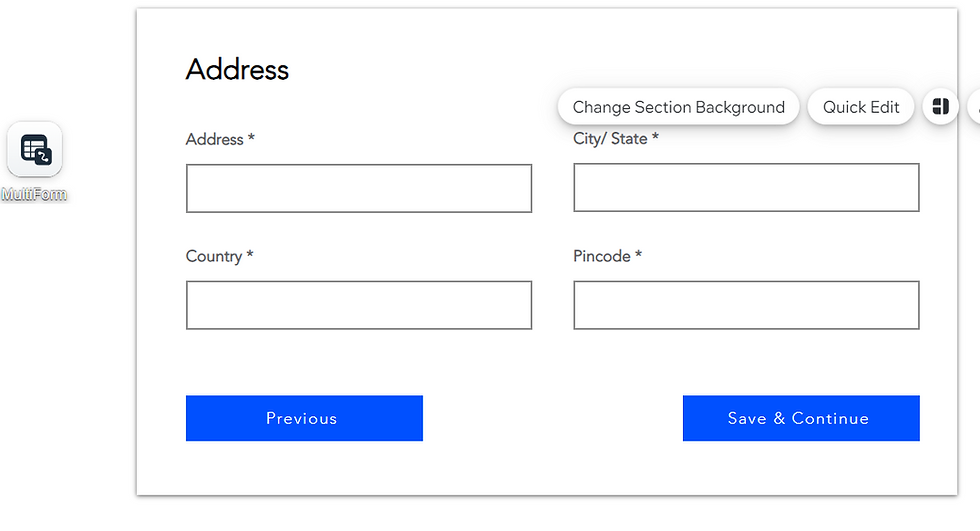
Two Buttons added. Save & Continue Button ,Previous Button
Step 5: Add the third state Multistate Box

I entered third manage state id name 'Success'.
Add Vector Image

Add element -> decorative ->vector Image

Add heading (Successfully Completed)
Step 6: Enable CMS (Formerly Known as Content Manager)

To be able to add sort to a repeater , all the data must be in the CMS. For that, you need to enable CMS.
From the left side of the editor, select CMS Which is selected in the image.
Step 7: Create a Collection

You can create a collection in two ways:
Select the CMS icon from the left window panel as you did in the last step, then click on Create Collection
Or, Click on Add Element > CMS > Create Collection

Name your collection, for example, I gave "multiForm". Then click on Create.
Step 8:Add Fields to the Collection

Click on the "Title" Field > Edit to Edit your field name. I named it "First Name" .
Adding Text field

You can Add Text
Click on "Add field" (On the right side of the Title field) to Add other fields to the collection.
Now I am adding another field named 'Last Name".

Click on "Add field" to Add other fields to the collection.
Now I am adding another field named 'email".

Click on "Add field" to Add other fields to the collection.
Now I am adding another field named 'phone".
Click on "Add field" to Add other fields to the collection.
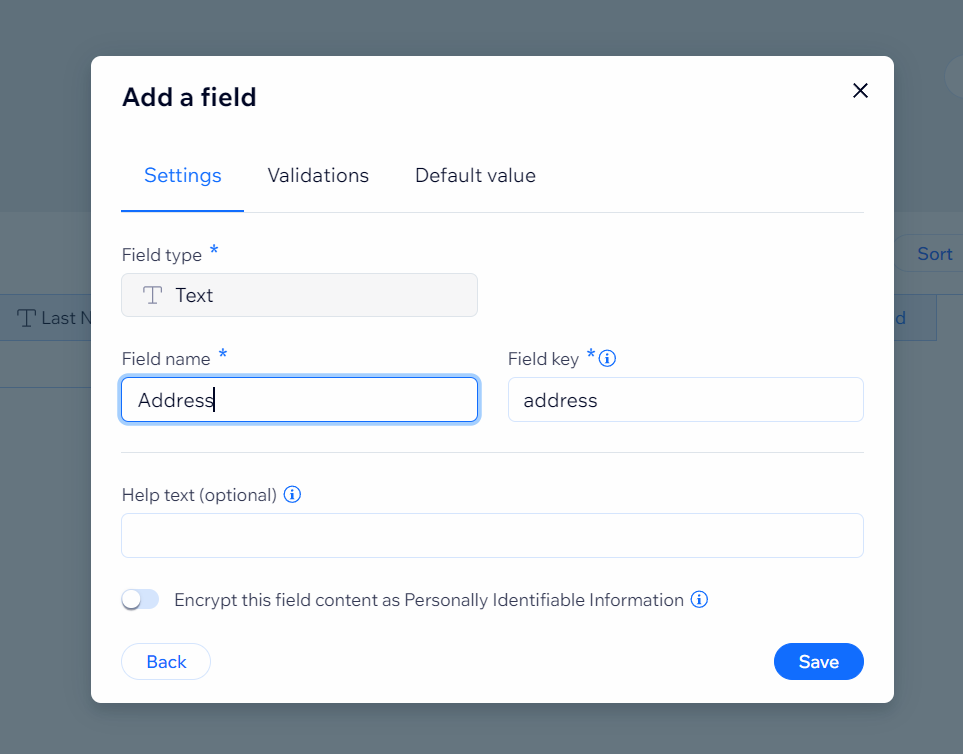
Now I am adding another field named 'Address".

Click on "Add field" to Add other fields to the collection.
Now I am adding another field named 'City/State".

Click on "Add field" to Add other fields to the collection.
Now I am adding another field named 'Country".

Click on "Add field" to Add other fields to the collection.
Now I am adding another field named 'Pin code".
Step 9: Insert Dataset to connect the elements to CMS

In order to connect the elements on your page with the content in your CMS, you have to add a dataset to the page (it will be invisible in the published website).
Add element > CMS > Dataset
Step 10: Configuring Dataset

Once you inserted the dataset click on it and select the settings.
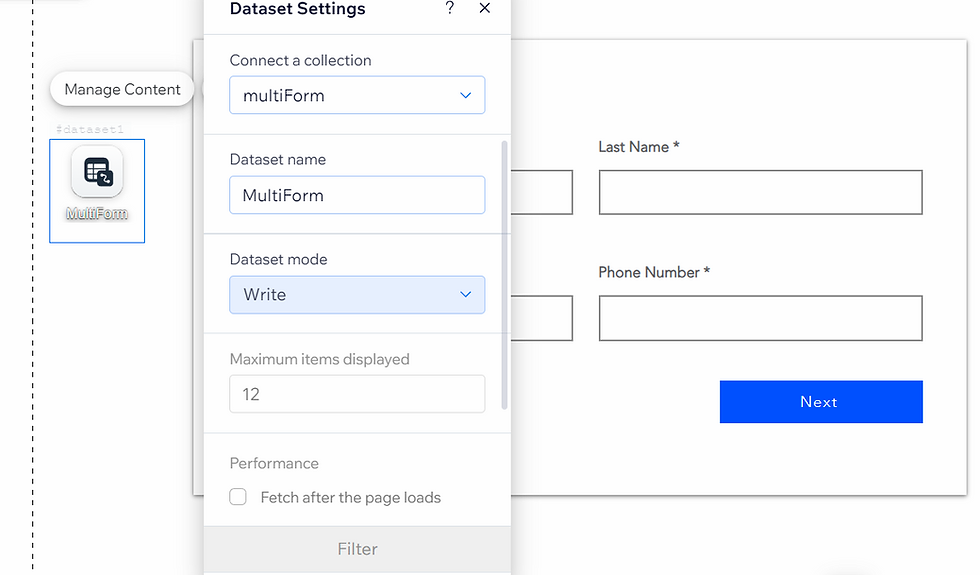
Then Select Your Collection,
here I selected multiForm.
Step 11: Connect the Input Field to the Dataset

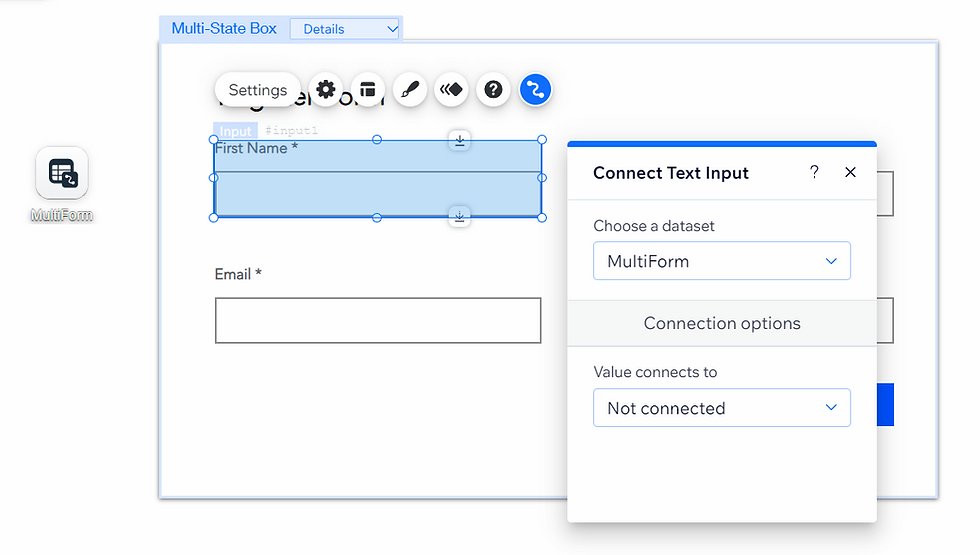
After you configure the dataset, click on the Input Field, and from the options click on "Connect to CMS".
Choose the "MultiForm" (Your dataset name) in the first drop-down.
After the last step, Below the dropdown, you can see the Elements section, Click on each element and connect it to the relevant fields.

Click on Input field value connect to First Name.
Likewise, connect other all elements to the respective fields.
Step 12: Add Progress Bar and Buttons
Show how much progress was made on a goal, an action taken by a visitor & more.

Add 3 circle button
Button Names are, 1, 2, 3

Step 13: Turn On Developer Mode
To configure the buttons, we need to enable "Dev Mode" in order to write a few lines of simple code.

On the top left of the window hover over Dev mode.
Then click on Turn on Developer Mode
Step 14: Giving Id to Elements
Following better coding standards, it is good to rename the 'id' of the elements, in this case, our elements are

First Name: #firstName
Last Name: #lastName
Email: #email
Phone Number: #phoneNumber
Multi State Box: #multiForm
Next: #nextButton


Address: #address
City/State: #city

Country: #country
Pincode: #pincode
Previous: #previousButton
Save & Continue: #saveButton

Progress Bar: #progressBar1
Circle Button: #button1

Circle Button: #button2
Circle Button: #button3
Step 15: Code
$w.onReady(function () {

    $w("#nextButton").onClick(() => {
        $w("#multiForm").changeState("Address");
        $w("#progressBar1").value = 50;
        $w("#button2").enable();
    });

    $w("#previousButton").onClick(() => {
        $w("#multiForm").changeState("Details");
        $w("#progressBar1").value = 0;
    });
    $w("#saveButton").onClick(() => {
        $w("#multiForm").changeState("Success");
        $w("#progressBar1").value = 100;
        $w("#button3").enable();
    });

    $w("#button1").onClick(function () {
        $w("#multiForm").changeState("Details");
        $w("#progressBar1").value = 0;

    });
    $w("#button2").onClick(function () {
        $w("#multiForm").changeState("Address");
        $w("#progressBar1").value = 70;

    });

    $w("#firstName, #lastName, #email, #phoneNumber").onChange(function () {
        if ($w("#firstName").value.length > 0 && $w("#lastName").value.length > 0 && $w("#email").value.length > 0 && $w("#phoneNumber")) {
            $w("#nextButton").enable();

        } else {
            $w("#nextButton").disable();
        }
    });
    $w("#address, #city, #country, #pincode").onChange(function () {
        if ($w("#address").value.length > 0 && $w("#city").value.length > 0 && $w("#country").value.length > 0 && $w("#pincode")) {
            $w("#saveButton").enable();

        } else {
            $w("#saveButton").disable();
        }
    });

    $w("#saveButton").onClick(function () {
        $w("#saveButton").label = "done..."
        $w("#saveButton").disable();
        $w("#multiForm").changeState("Success");
        $w("#button1").disable();
        $w('#button2').disable();

    });
    $w("#dataset1").onAfterSave(function () {
        $w("#saveButton").label = "submit";
        $w("#saveButton").enable();
        $w("#multiForm").changeState("Success");
        $w("#progressBar1").value = 100;
    })

});
$w("#dataset1").onError(function () {
    $w("#saveButton").label = "Error";
    $w("#saveButton").disable();
    $w("#button1").enable();
    $w('#button2').enable();
});
Step 16: Preview and Publish
On the top right side, click on "Preview" to see if your code is working. If it is working, then you can publish
You can visit the example website here.


Comments